From design to dunk — and you install it yourself.
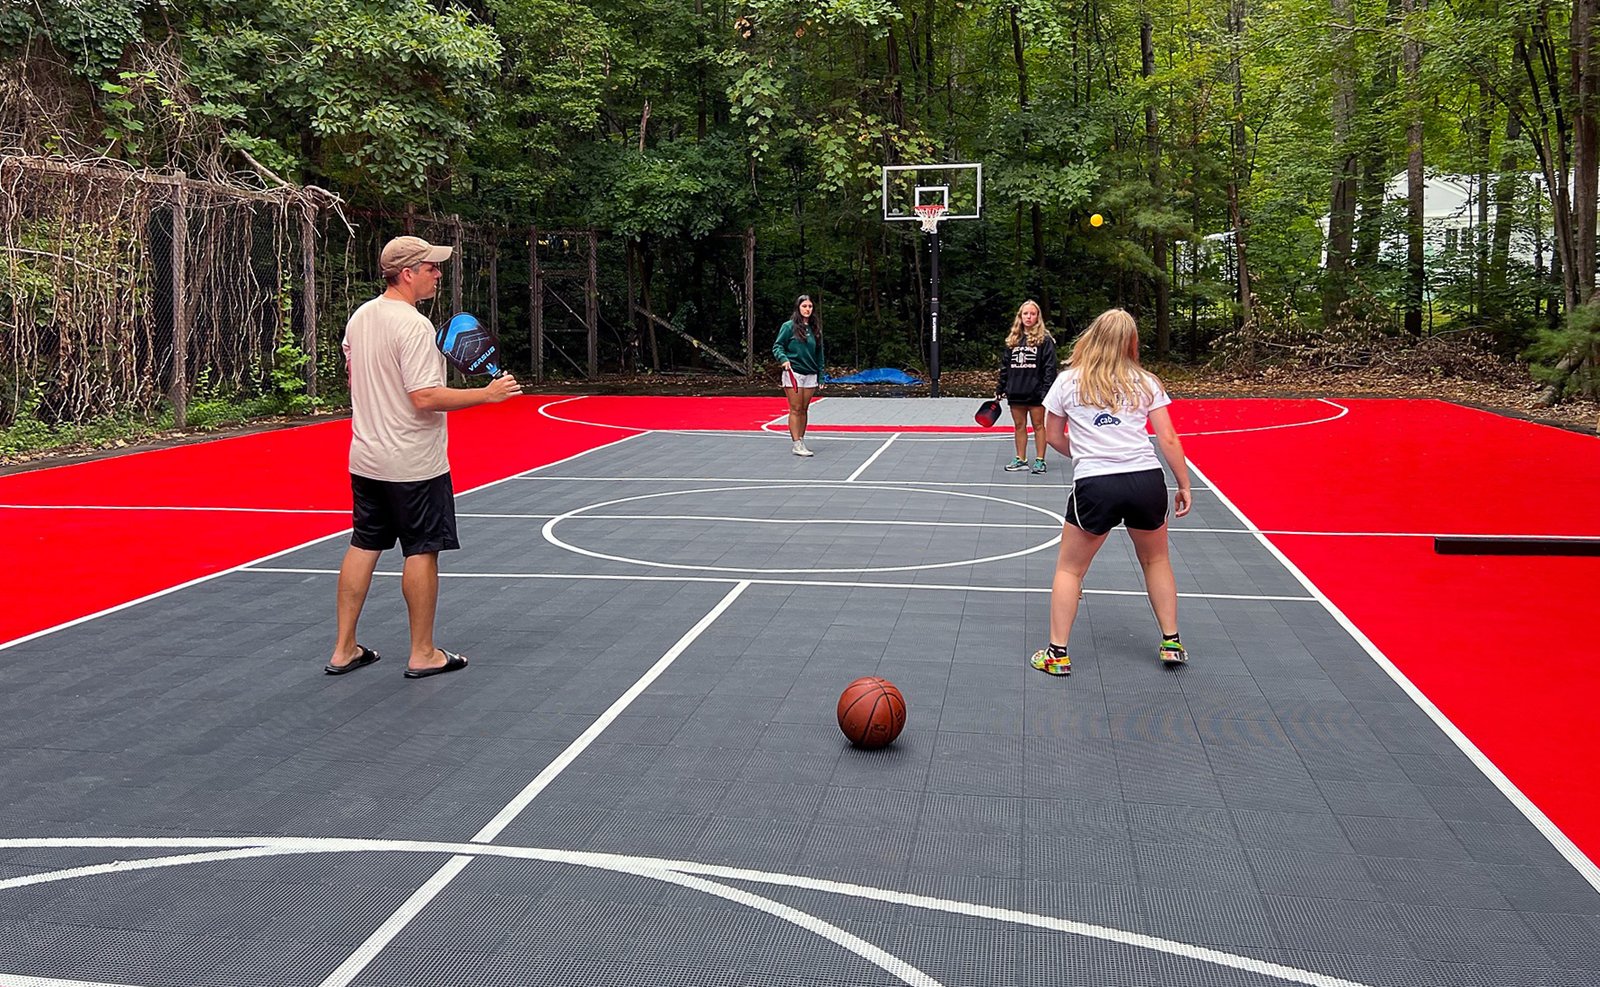
Outdoor Sport Courts courts arrive as interlocking modular tiles that snap together over any flat, firm base. No glue, no setting time, no tradespeople — most home courts go down in a weekend.
Design it online
Use the designer to pick your sport, size, colours, line markings and logos — and watch the price (including freight to your postcode) update live. No quotes to chase, no salesperson. Save it, share it, or order when you're ready.
We custom-build it
Once you confirm and sign off your design, your court is made to order at the factory — your exact colours and line markings applied at production (not painted on later). Typically about 4–5 weeks to build.
It ships to your door
Your court arrives as a flat-packed set of interlocking tiles plus bevelled edges, corners, court anchors and a step-by-step install guide. Metro freight is included in your price; regional and international is quoted at checkout. Allow roughly 2 weeks freight.
You snap it together
No glue, no setting time, no tradespeople required. The tiles interlock by hand over any flat, firm base. Most home courts go down in a weekend with a couple of people.
Laying your tiles, step by step
Every court ships with a printed step-by-step guide tailored to your design. Here's the gist.
- 1
Prepare a flat, firm base
The tiles lay over any solid, level surface — concrete, asphalt, or a properly prepared compacted pad. The base should be flat and free-draining; sweep it clean of grit and debris. There's no need to glue or fix the tiles to the base.
- 2
Find your starting corner
Plan your layout from the centre or a chosen corner so the whole-tile court sits square on your slab. Every Outdoor Sport Courts court is built in whole 304.8mm (1 ft²) tiles, so there's no cutting — your design already maps to exact tile counts.
- 3
Interlock the tiles
Lay the first tile, then connect each new tile to its neighbour using the built-in loop-and-peg interlock — press down until it clicks home (a rubber mallet helps seat them flush). Work row by row across the court, keeping your colour zones and line-marked tiles in the positions shown on your design sheet.
- 4
Add the bevelled edges & corners
Clip the bevelled edge strips and corner pieces around the perimeter. These give the court a finished ramped edge that's safe to run over and trips-free — and they snap on the same way as the tiles.
- 5
Anchor it down
Built to be easy — and to last
Snap-together install
Tiles interlock by hand over the base — no glue, nothing to set or dry.
Anchored & theft-proof
Hidden centre-cap anchor points + included anchors lock the court down — no sideways shift, can't be stolen.
Whole tiles, no cutting
Your design maps to exact 1 ft² tiles, so it goes together like a kit.
Free-draining surface
Open-base tiles let rain through — no puddles, dries fast, plays year-round.
Pre-applied markings
Lines are made into the tiles at the factory — far more durable than painted-on lines.
All-weather build
UV-stable, frost and heat tolerant — engineered for full-time outdoor use.
Ready to design yours?
Build your exact court and see the price live — install it yourself in a weekend.
Design Your Court →