Installing your court in a weekend
The full DIY install, step by step — tools, the corner-start method, edging, anchoring, and what to do the moment you finish (play).
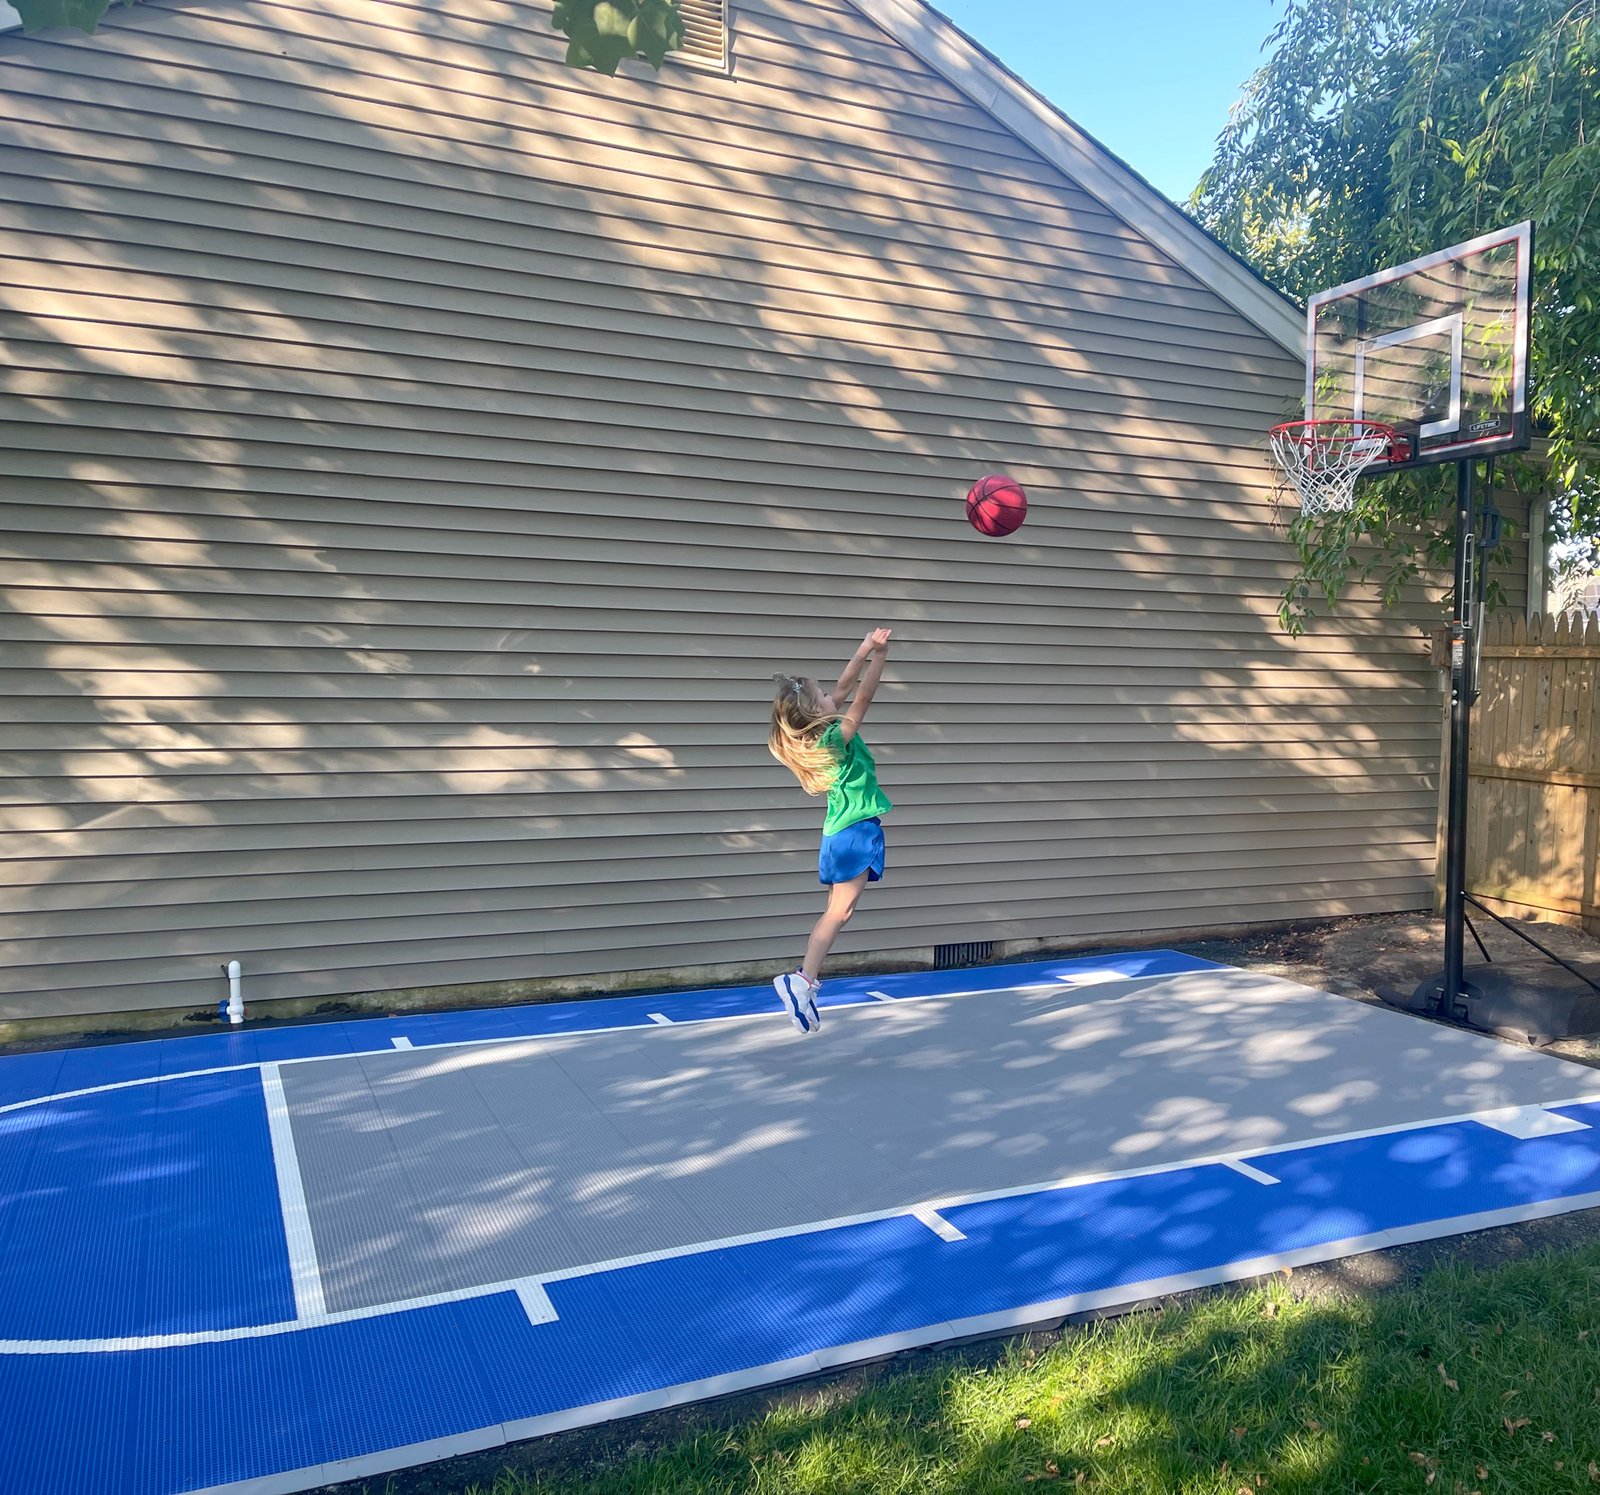
No trades, no glue, no curing. Your court arrives flat-packed with a layout guide matched to your design, and most home courts go down in a weekend — solo is fine, two people is fast.
Tools
- ✓Rubber mallet (the one genuinely useful tool)
- ✓Work gloves
- ✓Broom or blower — sweep the slab before you start
- ✓String line — optional, for peace of mind on the first row
- 1Check the base & unpack
Sweep the slab clean and confirm it's dry. Stack tiles by colour near where they'll be used — your layout guide shows the colour map.
- 2Plan your starting corner
Your design maps to exact whole-tile counts, so lay out from one corner and the court sits square. Squaring the first row sets up everything after it.
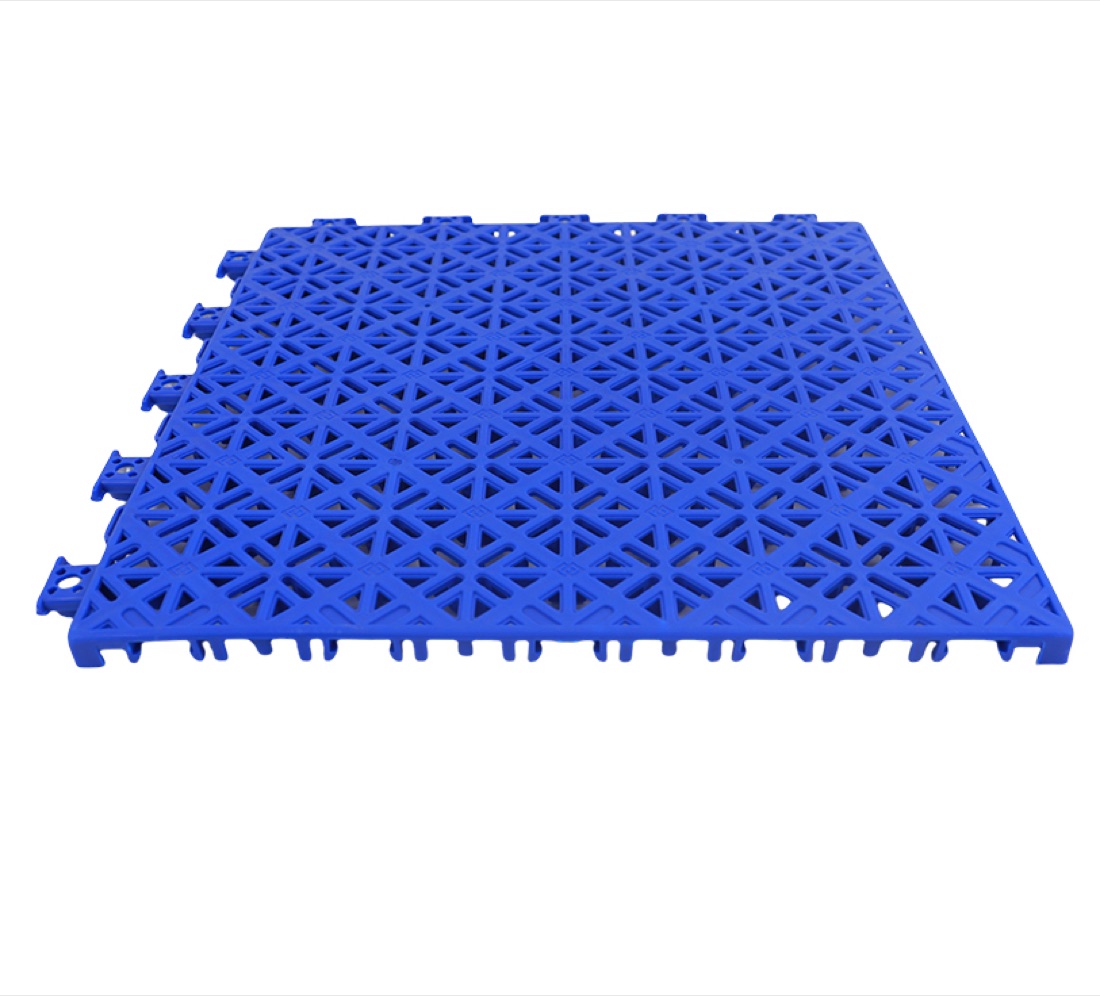
- 3Interlock row by row
Press each tile onto its neighbour until it clicks — a tap with the rubber mallet seats them flush. Work row by row to your design sheet; with two people, one places while one clicks.
- 4Clip on edges & corners
Bevelled ramps snap around the perimeter the same way the tiles do, giving the court a finished, trip-free edge.
- 5Anchor it down
Pop the hidden centre caps at the marked points and drive the included anchors — the court can't shift sideways and can't be lifted.
- 6Play — immediately
Nothing to set, dry or cure. Line markings were made into the tiles at the factory, so the court is finished the moment the last edge clicks in.
First-week care
There isn't any. Play on it. The whole long-term routine is a sweep and an occasional wash — covered in Care, maintenance & repairs.
Design your court — see the live price
Pick your sport, size, colours and lines — the exact price updates as you build, from $49/m².
Design your court →Prefer it on paper? Download the brochure (PDF)